Cooking Setup Comparison

Chances are you’ve read this article before. “Hey, outdoor enthusiast! We’re going to talk to you about different cooking setups! Did you know there are multiple fuel types you can use? Let’s compare them all based on weight and make a decision!” You may find times in this article that it does feel like you’re reading that same article for the thousandth time, but in conjunction with Outdoor Evolution’s #Giveashit campaign, let’s try to put a small twist on this article.
Can you name the 5th Leave No Trace Principle off the top of your head? If you can, great; if not, well, you’re probably not alone. For as much as folks in the outdoor community are talking about protecting public lands and Leave No Trace, how many of them actually have read, understood, and make sure to practice those seven principles? So, we figured if we’re going to write up an article on different cooking setups, why not just wrap in a little public lands education with it? Now, still, wondering what that 5th Principle is? Minimize campfire impacts! Obviously, most of the cooking setups we’ll be talking about in this article are not reliant on actual campfires, but maintaining fire safety is important when using any sort of open flame when out in public lands.
Let’s jump in! We’ll talk about some gear, compare some setups, and a few tips for safely minimize your impact when cooking in the backcountry.
Isobutane Stoves
This is almost certainly the cooking setup you’re most familiar with and probably already using if you cook in the backcountry. Lightweight, simple, and powerful isobutane stoves check off almost every box that outdoor enthusiasts have when figuring out how they want to cook. They’re also great because they seriously minimize the risk of starting a wildfire, though it’s still there. A few things to remember when cooking with an isobutane stove:
Always be aware of how much gas has been released before lighting your stove. Often, when screwing the stove onto the canister, some gas will be released. The safest option is to wait a minute before lighting the stove and relocate 10-20 feet away from where the gas was released.
Cook in a well-ventilated area, ideally completely open and outside. Cooking in your tent is a no-no. If you must cook in your tent, cook in a vestibule area that is unzipped and open
Always cook on a level surface.

Light, simple, and easy; isobutane is a popular choice for all outdoor enthusiasts
With isobutane stoves, your cooking options are definitely limited. It’s pretty much boiling water for whatever you’ve got. Still, when in the backcountry, this is probably all you need. These stoves are your quickest option for cooking, although the fuel can get rather expensive. An 8oz canister can cost anything from $4-$8 and maybe last you a week of cooking dinner every night along with some hot drinks and other uses throughout the day.
Alcohol Stove Options
An always popular option for cooking is using a stove that fuels up with denatured alcohol. Like the isobutane stoves, they are incredibly light and even better than those stoves; they are usually very cheap. While an isobutane stove can be over $50, alcohol stoves typically run at around $20. They’re even easy to make yourself (the infamous Pepsi can stove).
They are durable, will last forever, and easy to use. Plus, the fuel (denatured alcohol) is a much cheaper option than isobutane. These stoves are a little riskier when operating in the backcountry and require a few extra things to remember when using:
It is even more imperative to cook on a level surface. These stoves can be unstable; careful attention needs to be paid the ENTIRE cooking process. From setup to lighting, cooking, and breakdown, you need to have 100% of your attention on the stove.
Consider this stove to be an open flame and follow all open flame protocols. Whether using a vertical, side, or pressure flame, all have the potential to jump and spread.
Because this is an open flame, there is no safe option for using an alcohol stove in your tent, even in a vestibule area. Open, controlled areas only.
Make sure your flame is completely out when you are finished with cooking.
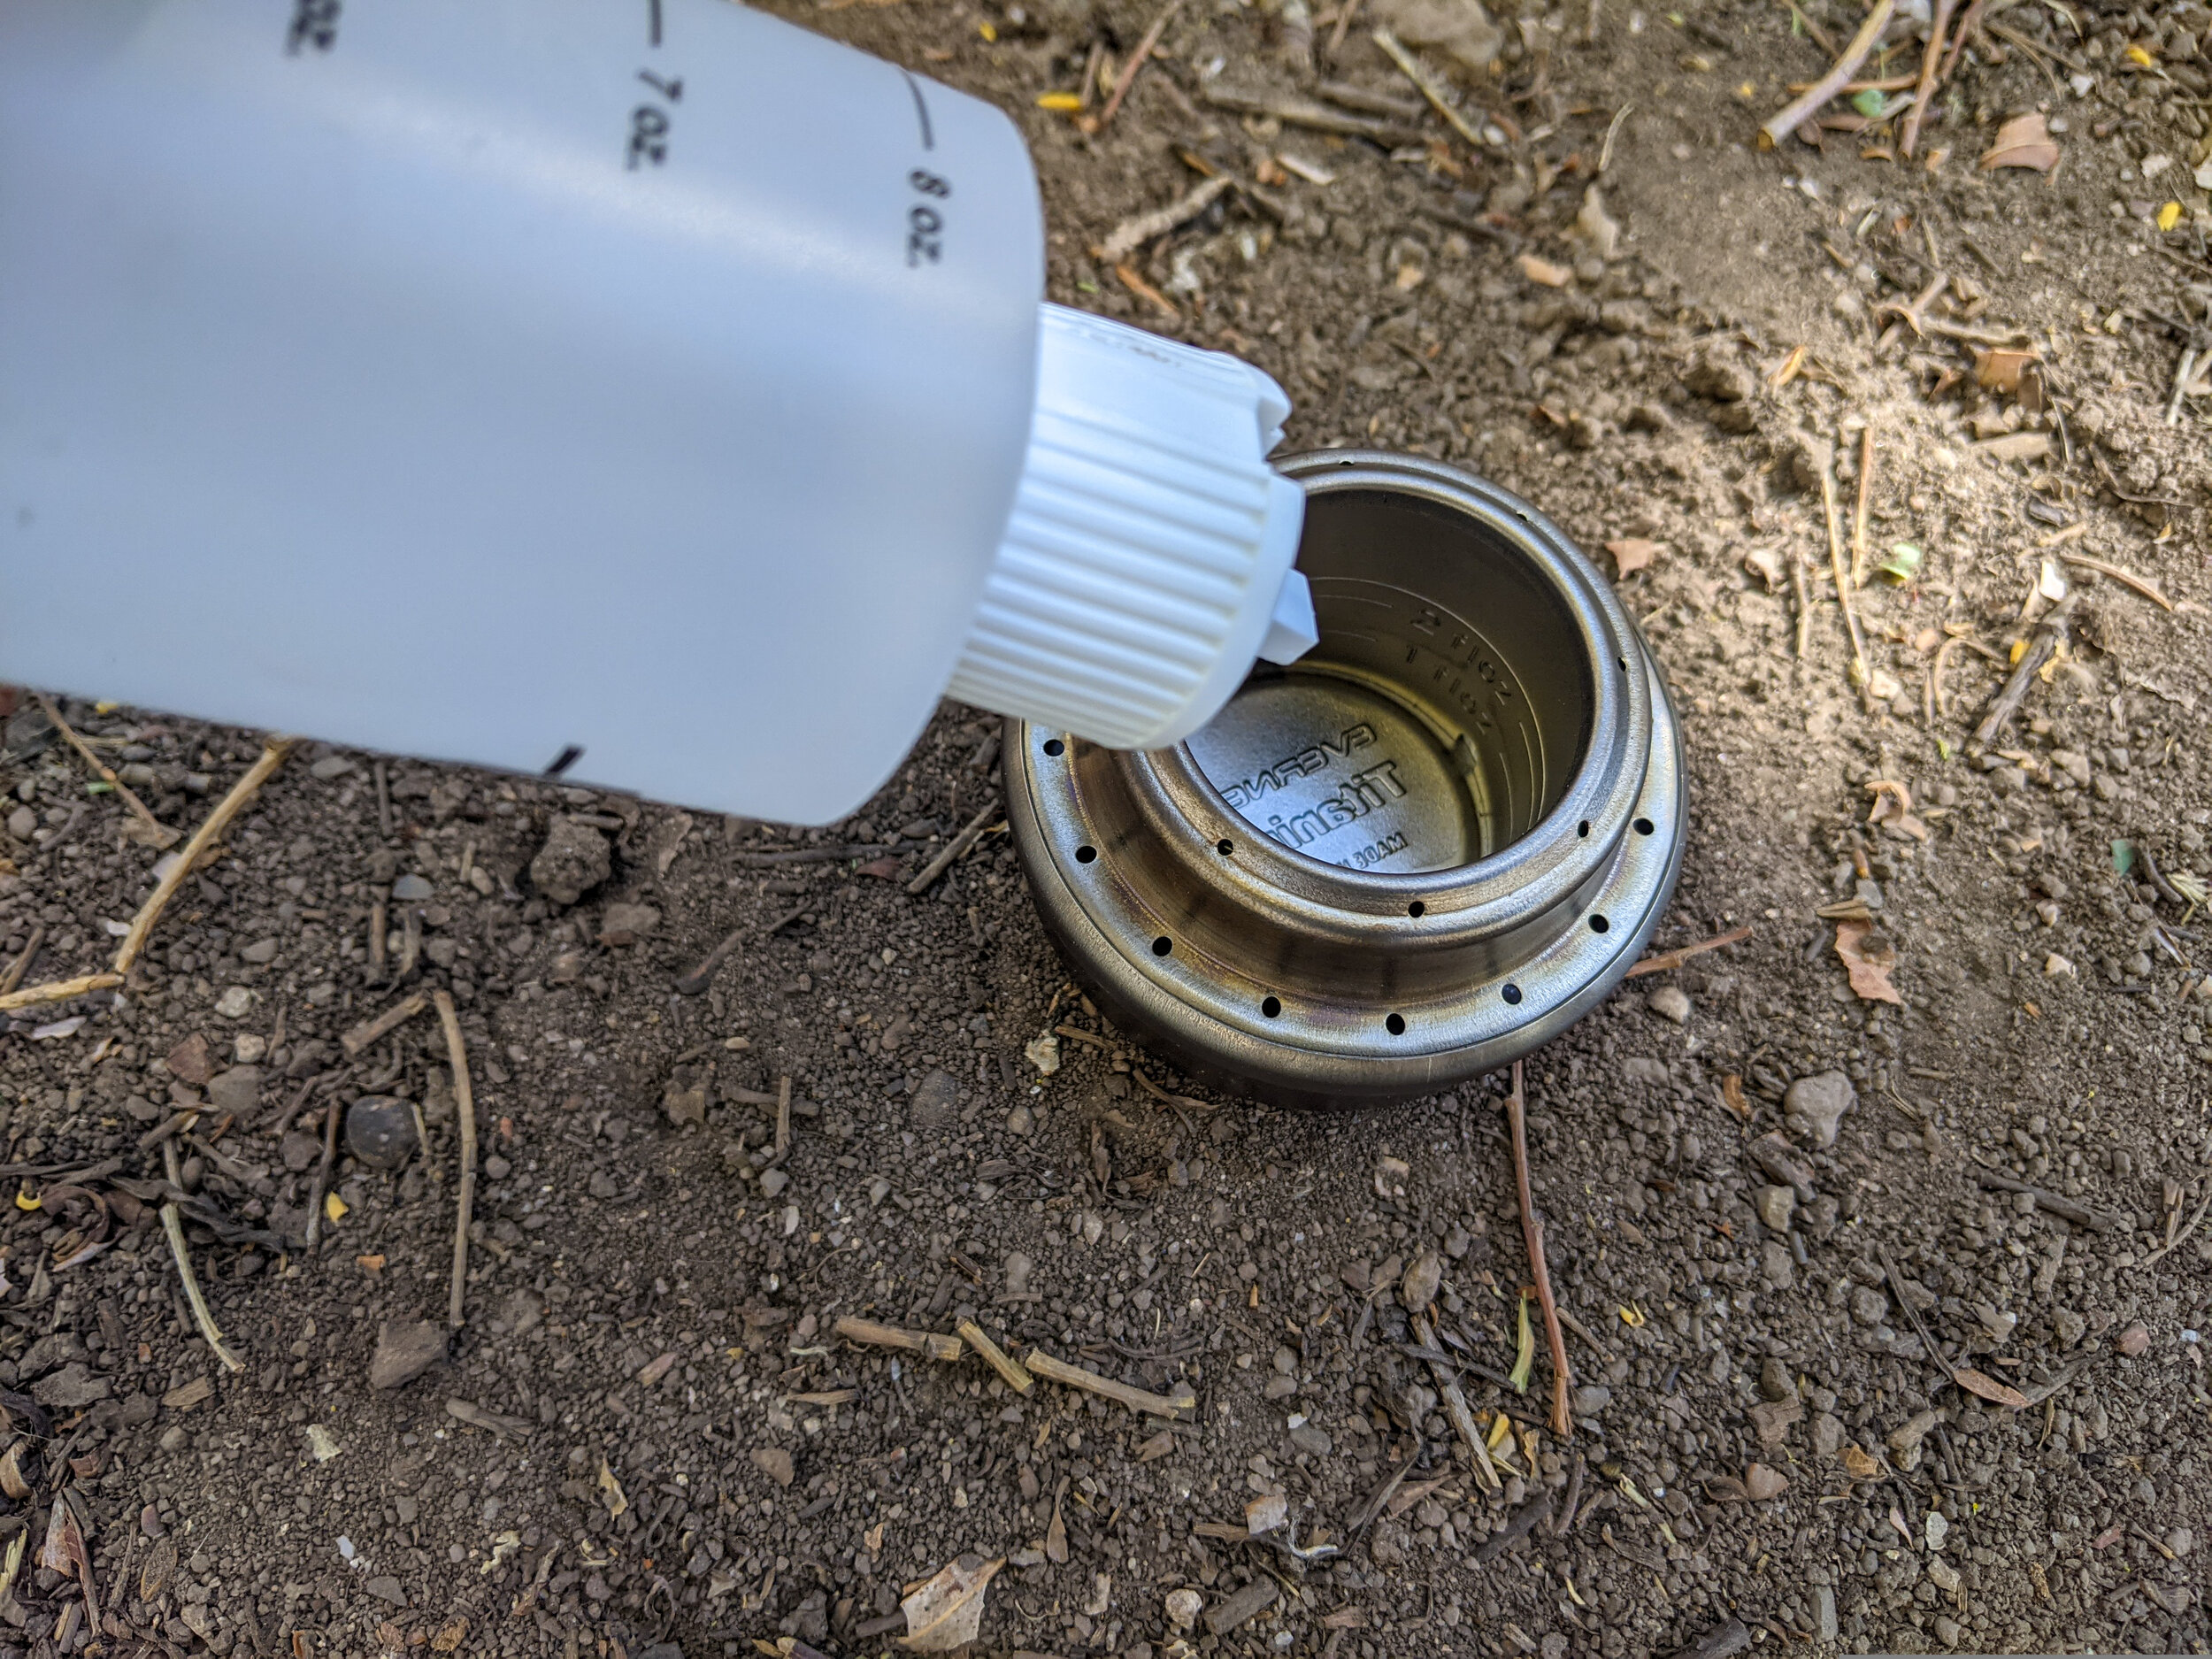
Using a dropper bottle to add your fuel is the safest, easiest option

A windscreen is a must for functionality and safety with alcohol stoves; always let the flame “plume” up before adding the stove and beginning to cook
Cooking on a Campfire
Although it takes more time, resources and can be trickier to get exactly right, cooking over a campfire can be one of the most rewarding experiences when out camping. There’s something so awesome about eating a delicious, hot meal and knowing that all you needed to cook it was some deadwood and a spark.
Campfire cooking is certainly more versatile and has more options when you’re just car camping. Still, it has some value even in the backcountry! Let’s go over the car camping options first before talking about using a campfire in more remote settings.
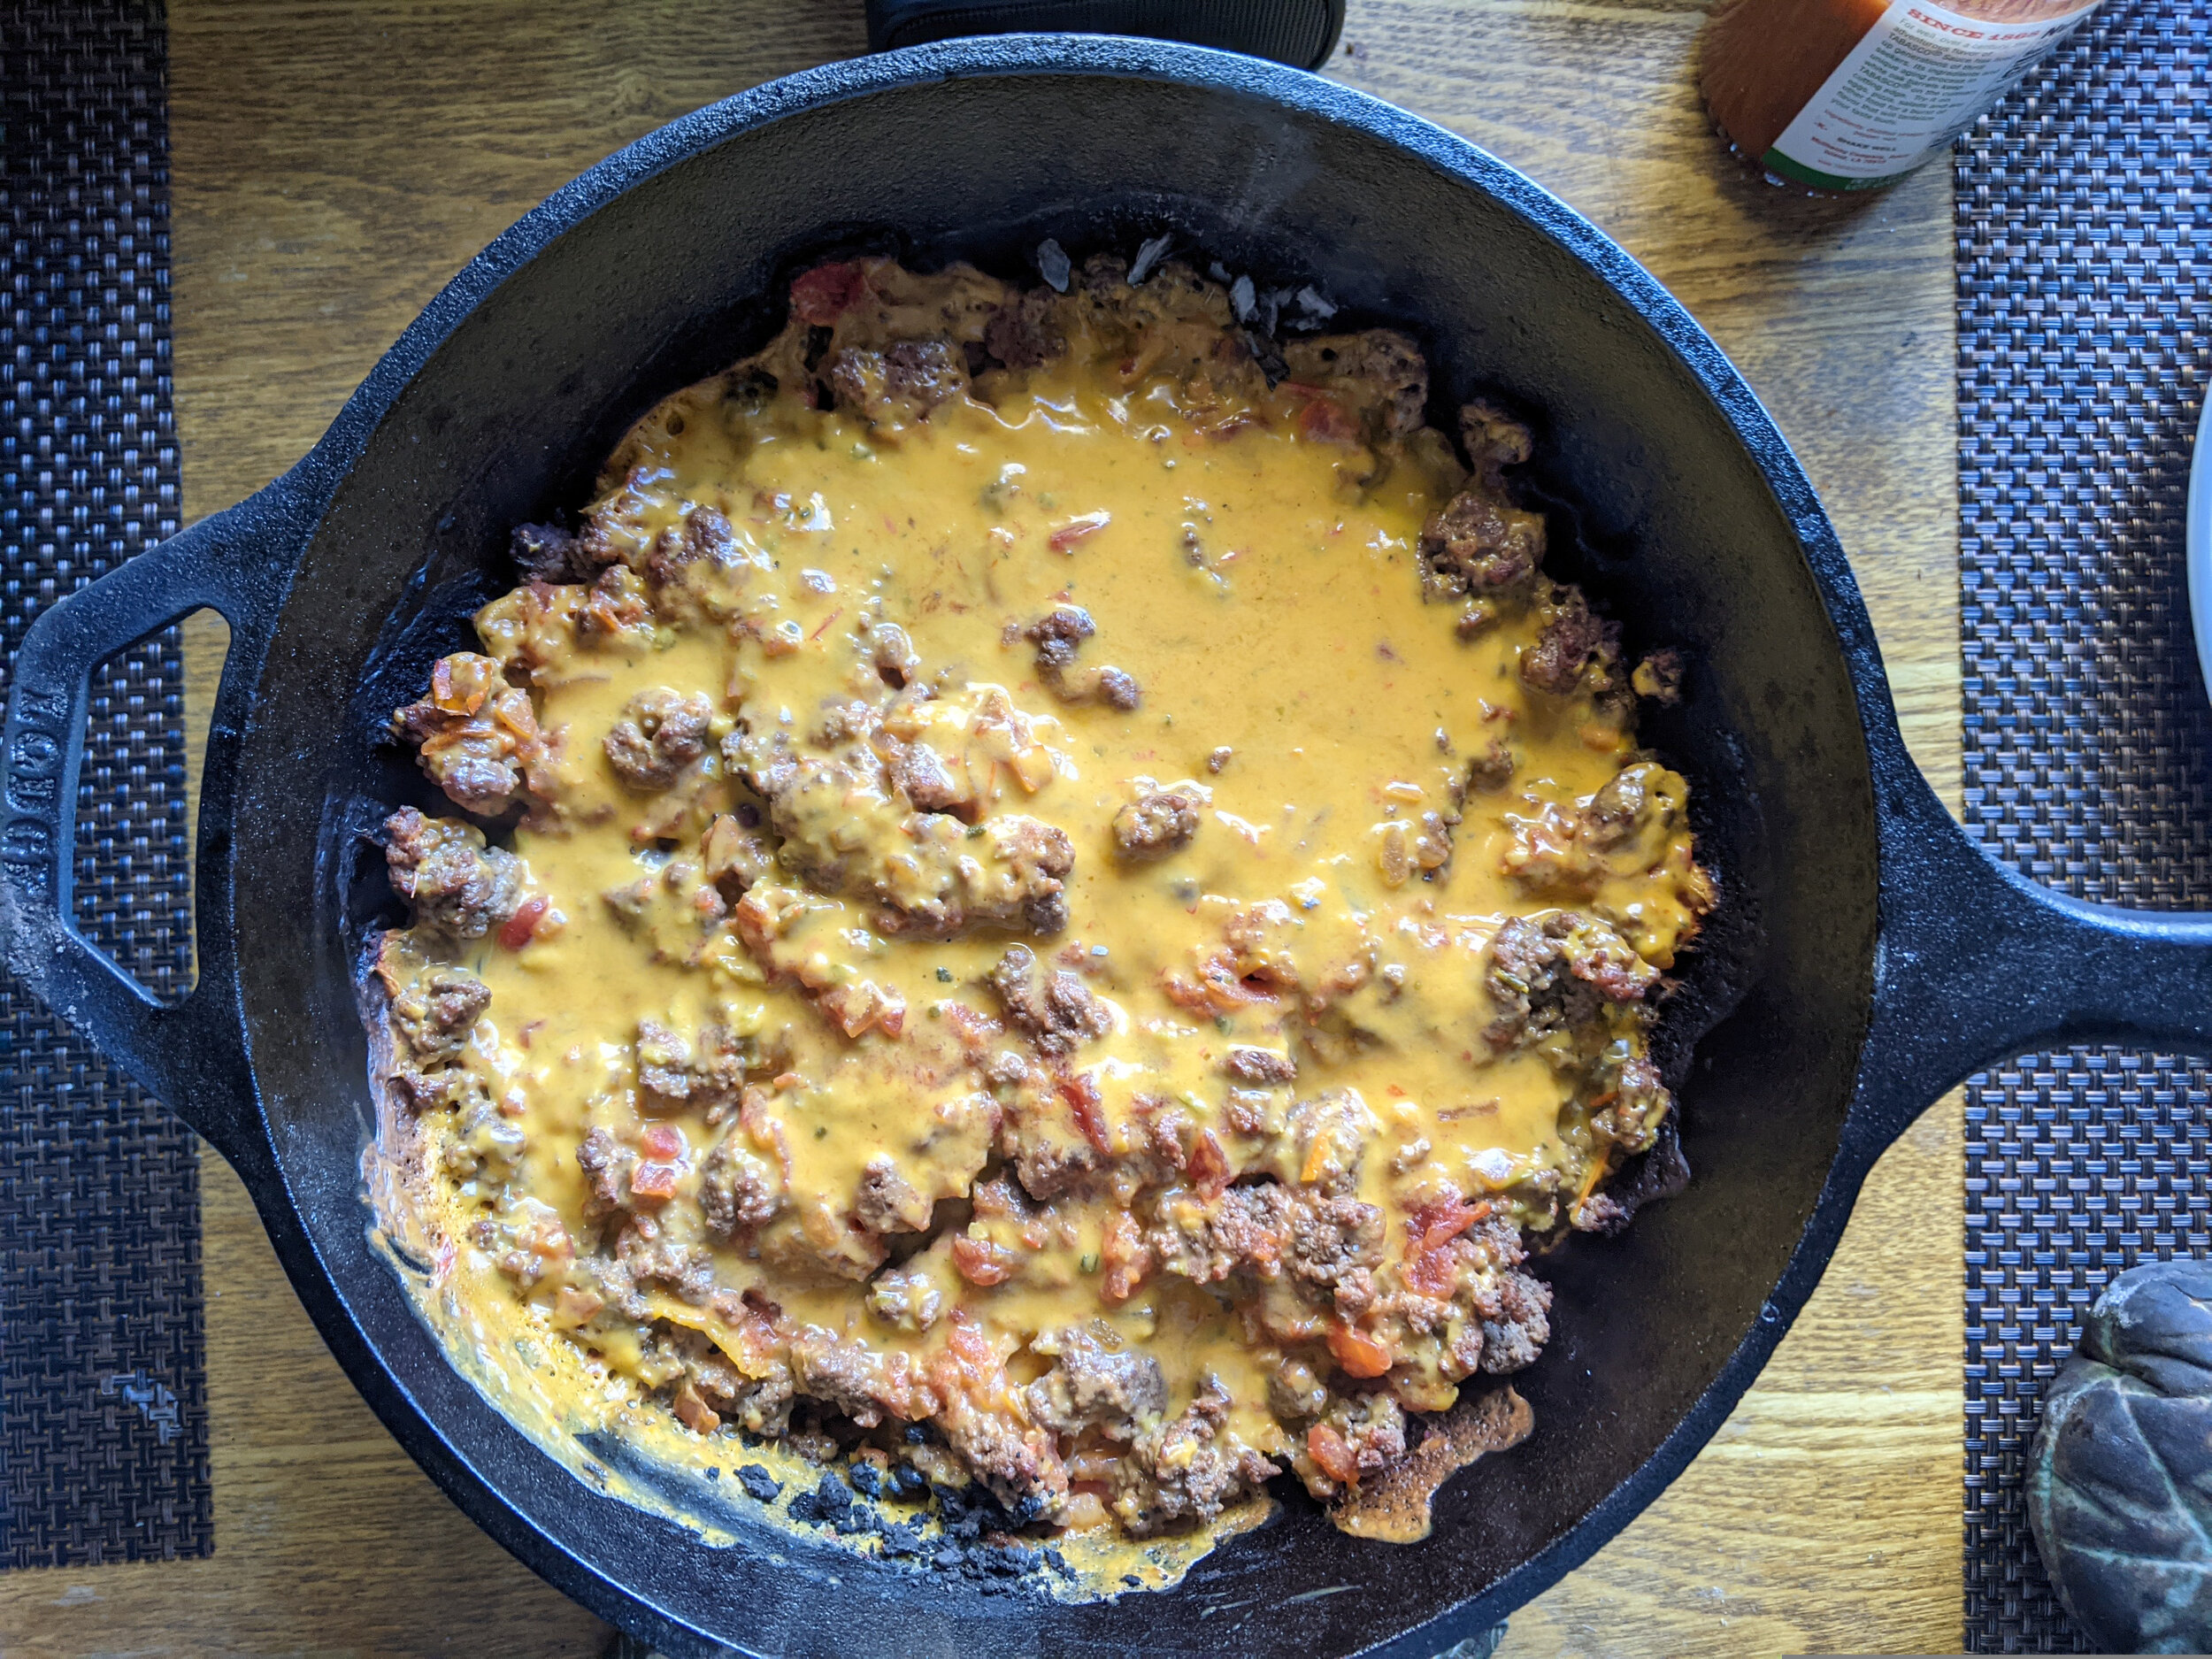
The best part of campfire cooking is how much it extends the possibilities of what you can cook. When conserving fuel is a factor and lack of size on a stove, you can really get boiled down to just meals that are cooked with boiling water (pun 100% intended here). A campfire circumvents both of these restrictions. You have as much fuel as there is deadfall around you. Plus, if you’re just car camping and weight isn’t an issue, being able to bring more versatile cooking instruments (cast iron!) into the picture can really expand your cooking possibilities. Burgers, nachos, skewers, there’s almost no limit to what you can cook when cooking over an open flame.
The natural smoke flavor can really add to your meals too. If building a cooking fire, let’s check in on some things you should never forget.

This fire ring has been dug a foot deep and has a solid rock border to minimize risk of the flame spreading.
Either use an established fire ring or build a new one in the proper location.
Fire rings should be built far from water sources, away from rock outcroppings (where they can leave ugly stains), and open areas.
Make sure you dig them into the ground and create a solid border with stones.
Keep your fires as low as possible. If you’re in the backcountry, it’s not the time for a bonfire.
Burn only dead wood that has already fallen. NEVER cut down trees or even cut off limbs.
Putting your fire out completely means drown and stir. Your firepit should be a nice, soupy mix that you can thoroughly stir and cold to the touch by the time you’re ready for bed or leaving your campsite.
ALWAYS check local, up to date fire restrictions before choosing to make a campfire

You should be able to comfortably touch any part of the fire when it has been successfully and completely put out
OK, now that that’s out of the way, let’s talk a little about cooking over a fire when in the backcountry. The biggest benefit is weight - now you get to take those extra ounces off your base weight that a cooking kit has without sacrificing hot meals! Any meal you can cook with boiling water can also be heated over a fire. Believe it or not, a campfire also generates enough heat to boil water. As far as expanding meals goes, using a pot lid as a small frying pan to cook more food is excellent. Pack out an egg or two from town and enjoy a nice fried egg for breakfast. A slice of bread with a hole bitten out of it makes for an egg-in-a-hole, a classic favorite. When fuel isn’t a concern, cooking options expand.

Dutch oven cooking is fun, easy, and…
…delicious!
Hopefully, through this article, you’ve been able to compare a few things about different ways to cook in the backcountry and maybe learned a thing or two about how to responsibly do it!
We strongly encourage everyone who’s ever planning to do any sort of cooking in the backcountry to review the 5th Principle of LNT and all Principles! You can find those here.